There was a time when “dairy-free cupcake” felt like a warning label.
You’d see it at a party or bake sale and instinctively lower your expectations. Dry. Dense. Maybe a little chalky. Definitely missing something.
I used to think that way too. And honestly? Early attempts didn’t help. I baked cupcakes that crumbled if you looked at them wrong. Others tasted fine on day one and mysteriously turned into sponges by day two. Some had that unmistakable something’s off flavor that no frosting could hide.
But after enough testing — and more than a few quiet cupcake funerals — one thing became very clear:
Dairy isn’t the hero ingredient we think it is.
Balance is.
And once you understand that, dairy-free cupcakes stop feeling like a workaround and start feeling like… just good cupcakes.
This recipe proves it.
No milk.
No butter.
No compromises.
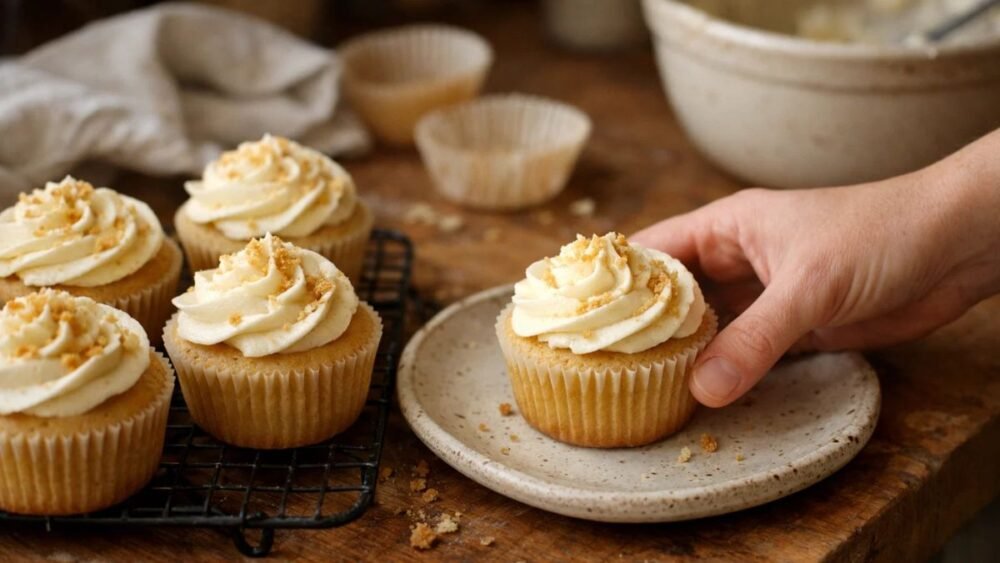
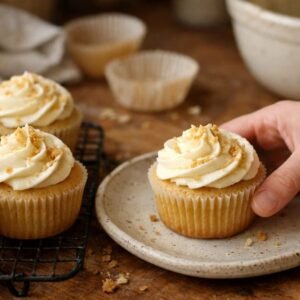
Just soft crumb, gentle sweetness, and that fluffy, bakery-style rise people expect when they hear the word cupcake.
Jump To
What “Dairy-Free” Actually Means in Baking
Let’s clear something up first, because this trips people up all the time.
A dairy-free cupcake simply means the recipe contains no ingredients derived from animal milk — no butter, milk, cream, yogurt, or whey.
That’s it.
It does not automatically mean:
- Vegan
- Gluten-free
- Sugar-free
- “Healthy” (we’ll talk about that later)
Eggs can still be present. Wheat flour can still be used. Sugar can still do what sugar does best.
Think of dairy-free as a boundary, not a personality.
Once you approach it that way, the entire process becomes simpler — and far more reliable.
Serve This: Gluten-Free & Dairy-Free Desserts Recipes
Why So Many Dairy Free Cupcake Recipes Fail
Most disappointing dairy-free cupcakes fail for one very boring reason:
They remove dairy and don’t replace its function.
Butter and milk aren’t just there for taste. They play specific structural roles in baking.
Here’s what dairy normally contributes:
- Fat → tenderness and moisture
- Liquid → hydration and crumb formation
- Protein → structure and stability
Take those away without a plan, and the cupcake collapses — literally or figuratively.
This recipe works because each role is replaced intentionally, not emotionally.
The Baking Science (Without the Lecture)
| Dairy Function | What We Use Instead | Why It Works |
|---|---|---|
| Butter | Neutral oil | Traps moisture and softens crumb |
| Milk | Plant milk or water | Hydrates flour and activates leavening |
| Creaminess | Sugar + fat balance | Mimics softness without heaviness |
The result? A cupcake that doesn’t feel dairy-free. It just feels… right.
Ingredients You’ll Actually Find in Your Kitchen
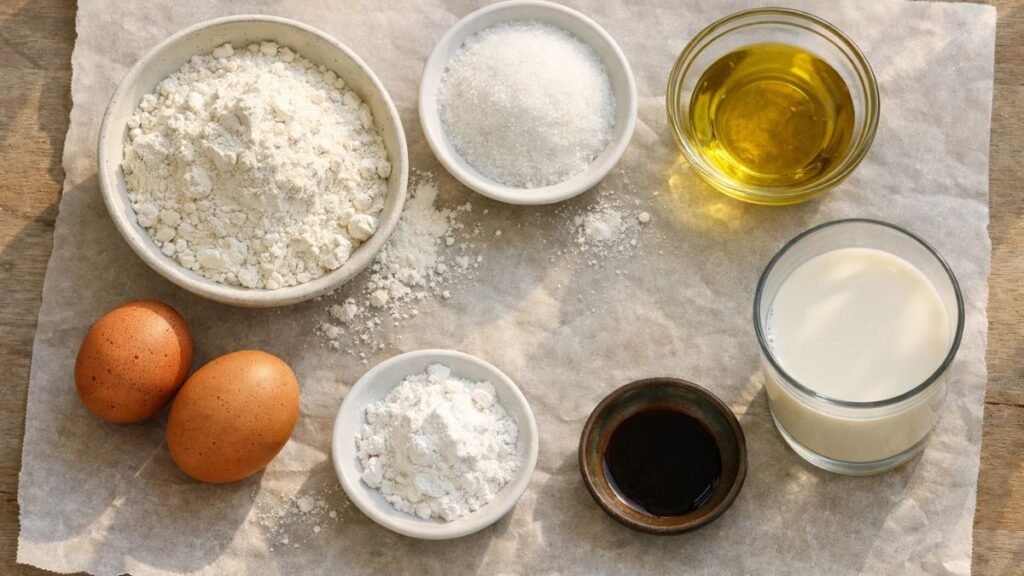
No specialty powders. No niche substitutes. No frantic grocery runs.
These are normal pantry ingredients doing smart work.
Dry Ingredients
- All-purpose flour
- Granulated sugar
- Baking powder
- Baking soda
- Salt
Wet Ingredients
- Neutral oil (canola, sunflower, vegetable, or light olive oil)
- Eggs (room temperature)
- Plant-based milk or water
- Vanilla extract
That’s it.
And yes — water works. Shockingly well, actually.
Pro tip: If you use plant milk, always choose unsweetened. Sweetened varieties quietly throw off sugar balance and browning.
The Best Dairy-Free Milk Options for Baking
You don’t need plant milk, but if you prefer using it, some options perform better than others.
Ranked by Baking Performance
- Oat milk – Soft crumb, neutral flavor, excellent moisture
- Almond milk – Light and clean, very forgiving
- Soy milk – Adds structure, slightly denser crumb
- Carton coconut milk – Richer texture, subtle coconut note
Avoid:
- Sweetened varieties
- Vanilla-flavored versions
- Full-fat canned coconut milk (too heavy)
If in doubt? Use water. I’m not kidding.
Serve This: Sprinkles Cupcakes Nutrition Facts
How to Make Dairy-Free Cupcakes (Step by Step, No Mixer)
This is a one-bowl recipe, which already puts it ahead of half the internet.
Step 1: Prep First (Always)
- Preheat oven to 350°F (175°C)
- Line a standard muffin tin with paper liners
Starting with a hot oven matters more than most people realize. Cupcakes rely on early heat for lift.
Step 2: Mix the Dry Ingredients
In a large bowl, whisk together:
- Flour
- Sugar
- Baking powder
- Baking soda
- Salt
This isn’t busywork. Even distribution here is what gives you even domes instead of lopsided chaos.
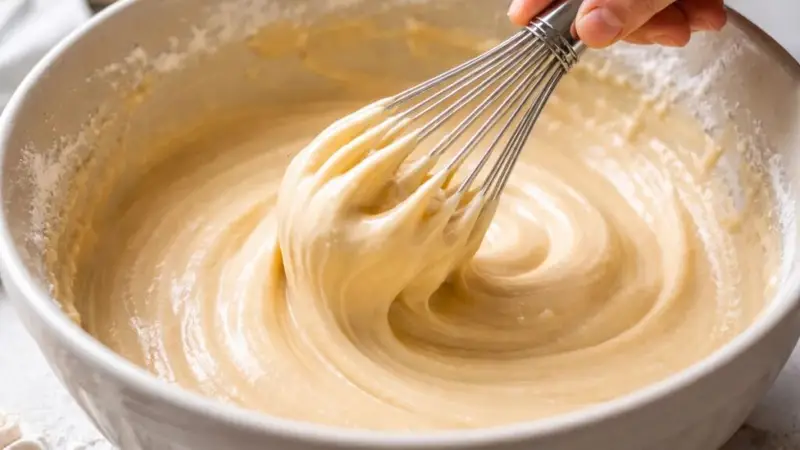
Step 3: Add the Wet Ingredients
Pour directly into the same bowl:
- Oil
- Eggs
- Plant milk or water
- Vanilla extract
Stop the second the batter looks smooth. A few small lumps are fine. Overmixing is the fastest way to ruin an otherwise perfect cupcake.
The batter should look:
- Smooth
- Slightly loose
- Pourable, not thick
Step 4: Fill and Bake
- Fill cupcake liners ¾ full
- Bake for 18–22 minutes
They’re done when:
- Tops spring back lightly
- A toothpick comes out with a few moist crumbs (not wet batter)
Let them cool completely before frosting. Warm cupcakes and frosting never get along.
Texture, Taste, and What People Actually Notice
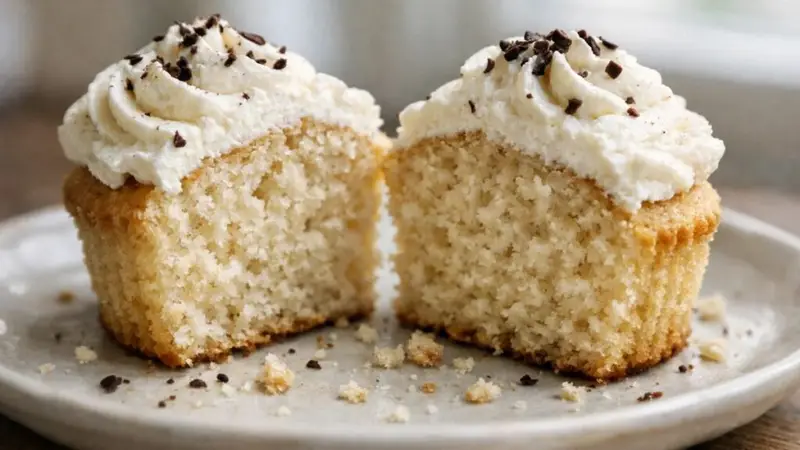
Here’s the part that surprises people.
These cupcakes are:
- Soft in the center
- Lightly domed
- Moist for 2–3 days
- Neutral enough to pair with any frosting
They don’t taste “healthy.”
They don’t taste “alternative.”
They don’t taste like almonds unless you add almonds.
They taste like cupcakes.
And that’s the whole point.
Serve This: Eggless Chocolate Chip Cookies Recipe
Dairy-Free Frosting Ideas That Actually Pair Well
You don’t need butter to make something delicious. You just need intention.
Easy Dairy-Free Frosting Options
- Simple vanilla glaze
Powdered sugar + plant milk + vanilla - Dairy-free buttercream
Plant-based butter + powdered sugar - Whipped coconut frosting
Light, airy, naturally dairy-free - Dark chocolate ganache
Dairy-free chocolate + warm coconut cream
Quick note:
If the cupcake is light, keep the frosting balanced. Overly heavy frostings can overwhelm the crumb.
Want to Make Them Vegan Too? Easy Swaps
This recipe is already dairy-free. Making it fully vegan is straightforward.
Egg Replacements (Choose One)
- Flax eggs:
1 tablespoon ground flax + 2½ tablespoons water per egg - Applesauce:
¼ cup per egg (adds moisture, slightly denser texture) - Commercial egg replacer:
Follow package instructions
The crumb will be a bit tighter, but still soft and enjoyable.
Common Dairy-Free Cupcake Mistakes (And How to Avoid Them)
1. Dry Cupcakes
Cause: Too much flour
Fix: Spoon flour into the measuring cup, don’t scoop
2. Flat or Dense Tops
Cause: Old baking powder or soda
Fix: Replace leavening every 6 months
3. Gummy Texture
Cause: Overmixing
Fix: Mix just until combined — stop early, not late
4. Oily Mouthfeel
Cause: Heavy oil or too much fat
Fix: Use neutral oil and measure carefully
Storage, Shelf Life, and Freezing Tips
- Room temperature:
2 days, covered - Refrigerator:
Up to 5 days - Freezer (unfrosted):
Up to 2 months
Let frozen cupcakes thaw at room temperature before frosting. Never microwave unless you enjoy regret.
Are Dairy-Free Cupcakes Healthier?
Not automatically.
Potential Benefits
- Suitable for lactose intolerance
- Friendly for dairy allergies
- Often lower in saturated fat
Reality Check
They’re still cupcakes. Sugar is still sugar. Joy still counts.
Balance matters more than labels.
Serve This: Healthy Banana Oatmeal Muffins
FAQs
Can I use water instead of plant milk?
Yes. Texture remains soft and fluffy.
Do dairy-free cupcakes rise properly?
Absolutely — when leavening is balanced.
Can I make mini cupcakes?
Yes. Bake 10–12 minutes.
Can I double the recipe?
Yes, with no adjustments needed.
Final Thoughts: Dairy-Free Isn’t a Limitation — It’s a Skill
Once you stop thinking of dairy as mandatory, baking opens up.
These cupcakes aren’t “good for dairy-free.”
They’re just… good.
Soft. Reliable. Flexible.
Perfect for birthdays, bake sales, quiet afternoons, or the moment you realize you’re out of milk and still want something sweet.
No dairy.
No stress.
No one guessing what’s missing.
Just cupcakes that work.
And honestly? That’s the best kind.
If you enjoyed this article, don’t forget to follow and subscribe for more health tools, recipes, and news!
Dairy-Free Vanilla Cupcakes
Equipment
- Mixing Bowl
- Whisk
- Measuring Cups
- Muffin tray
- Cupcake liners
- Oven
Ingredients
- 1 cup All-purpose flour Sifted
- ½ cup Sugar White or cane
- 1 tsp Baking powder Aluminum-free
- ¼ tsp Salt Optional
- 1 Egg Room temperature
- ½ cup Plant-based milk Almond soy, or oat
- ¼ cup Vegetable oil Neutral flavor
- 1 tsp Vanilla extract
Instructions
- Preheat the oven to 180°C (350°F) and line a muffin tray with cupcake liners.
- In a mixing bowl, whisk together flour, sugar, baking powder, and salt.
- Add the egg, plant-based milk, oil, and alcohol-free vanilla extract.
- Whisk until the batter is smooth and lump-free — do not overmix.
- Divide the batter evenly into the cupcake liners, filling each about ¾ full.
- Bake for 16–18 minutes, or until a toothpick inserted comes out clean.
- Remove from oven and let cupcakes cool completely before serving.
Notes
- For extra flavor, add lemon zest or halal chocolate chips.
- Store cupcakes in an airtight container for up to 2 days at room temperature.

Muhammad Ahtsham is the founder of EatLikeFit.com and a nutrition researcher dedicated to healthy weight management. He provides practical, science-backed advice on high-protein diets and affordable meal planning to help readers achieve their fitness goals simply and effectively.
How many cupcakes does this recipe make?
Hi Teresa! This recipe usually makes about 12 standard cupcakes, depending on the size of your cupcake liners. 😊
Thanks so much. I am making cupcakes for my 8 yr old grandson’s birthday. One child cannot have dairy or soy and I always use Gluten Free flour. This will be perfect. I am so glad to find it. I am using pure Canola oil.
You’re so welcome, Teresa! 😊 I’m really happy this recipe could help for your grandson’s birthday. Using pure canola oil should work great, and I hope all the kids enjoy the cupcakes. Wishing your grandson a wonderful birthday celebration! 🎉🧁
I wanted larger cupcakes, and I only needed 12 for the cupcake holder I had dedicated to no dairy, no soy, Gluten Free. I was making other ones that were different. I made a double batter and filled 12 up probably too full, almost to the top then one extra one for me to sample. They came out with a dome but that is fine, I am going to pipe icing on tomorrow. I would say if you double the batter for larger cupcake holders, you could make 14-15 cupcakes. They are just as moist and fluffy as you say. Delicious! I followed the hint that said, “Stop the second the batter looks smooth, a few lumps are fine. Overmixing will ruin the perfect cupcake.” Thank you so much for this great recipe.
Thank you so much, Teresa! 😊 I really appreciate you sharing your experience and adjustments. Your tip about doubling the batter for larger cupcakes is super helpful for other readers too. I’m so happy to hear they still turned out moist and fluffy, and that the mixing tip worked perfectly for you. Hope the icing turned out amazing as well!
I meant to say if you make a double batter for larger cupcakes holders, you could probably make at least 16 cupcakes
Thanks again, Teresa! 😊 And thank you for the extra clarification on the yield. That’s really helpful for anyone making larger cupcakes. I truly appreciate you taking the time to come back and update your results!