Over the past few years, sprouted breads have quietly stolen the spotlight in kitchens. At the forefront of this sprouted revolution is Ezekiel bread—a bread that is as ancient in tradition as it is modern in nutritional science.
Whether you’re curious about why this bread is celebrated by nutritionists, or you’ve always wanted to bake a nutrient-packed loaf at home, this guide has you covered. I’ll walk you through its origins, health benefits, step-by-step homemade recipe, and creative ways to enjoy it daily.
Jump To
What Exactly Is Ezekiel Bread?
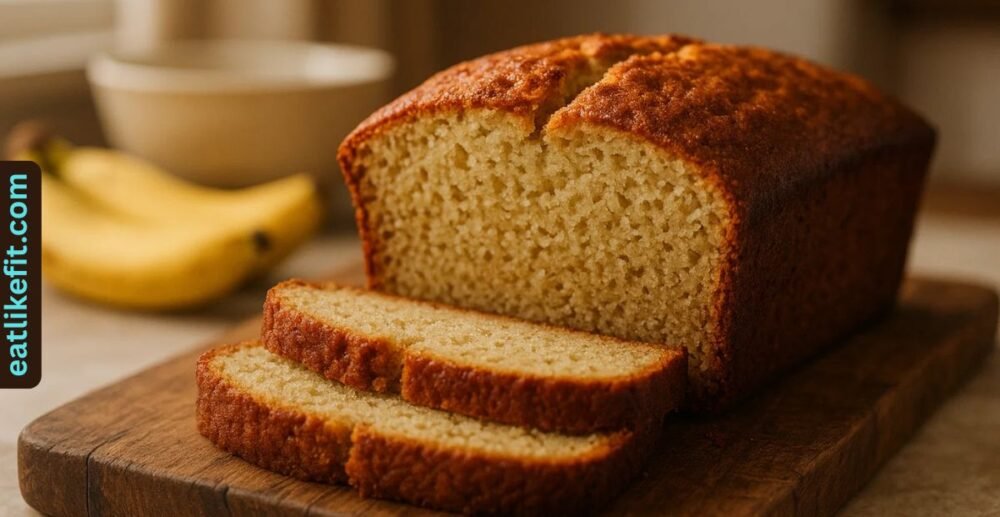
Ezekiel bread isn’t just another whole-grain loaf. It’s a living food, made from sprouted grains and legumes that are blended into a dense, hearty bread. Unlike conventional bread made from refined flour, Ezekiel bread starts with whole grains soaked until they sprout. This process not only boosts nutrition but also improves digestibility and flavor.
Core Ingredients in Ezekiel Bread:
- Wheat: Adds fiber and protein for sustained energy.
- Barley: Packed with B vitamins and antioxidants.
- Lentils: An excellent plant-based protein source.
- Millet: A gluten-free grain high in magnesium and phosphorus.
- Spelt: Ancient grain with iron and fiber.
- Soybeans: Provide essential amino acids for complete protein.
The combination of these sprouted grains and legumes creates a loaf that is nutritionally superior to most store-bought bread. And unlike some commercial options, it’s free from artificial additives, making it a perfect choice for clean eating enthusiasts.
Health Benefits That Make Ezekiel Bread Stand Out
Ezekiel bread isn’t just a fancy alternative for toast lovers; it genuinely delivers health benefits that standard loaves simply can’t match. Here’s a breakdown of why this bread deserves a spot on your table:
1. Complete Plant-Based Protein
One slice of Ezekiel bread packs more protein than most other breads because of its unique combination of legumes and grains. Unlike regular wheat bread, it provides all nine essential amino acids. For vegetarians and vegans, this is a game-changer.
2. Rich in Digestive-Friendly Fiber
Sprouted grains naturally boost fiber content, which can support healthy digestion and stabilize blood sugar levels. If you’ve ever struggled with bloating or sugar crashes after regular bread, Ezekiel bread might just be your new go-to.
3. Low Glycemic Index
Unlike white bread that spikes blood sugar, sprouted breads like Ezekiel release glucose slowly. This translates to steadier energy levels, fewer cravings, and better satiety after meals.
4. Improved Mineral Absorption
Sprouting reduces antinutrients like phytic acid, which often block mineral absorption. The result? Your body can better utilize calcium, iron, and magnesium. It’s nutrition you can actually absorb.
5. Heart-Healthy Properties
Fiber, protein, and antioxidants in Ezekiel bread may help lower LDL cholesterol, regulate blood pressure, and promote overall cardiovascular health.
Ezekiel bread is a nutrient powerhouse—a lower-GI, protein-rich, and mineral-dense alternative for anyone looking to upgrade their diet.
Why Homemade Ezekiel Bread Beats Store-Bought
Sure, grocery stores carry sprouted grain loaves. But here’s the thing: making it at home allows total control over flavor, texture, and sweetness. You skip preservatives and additives while enjoying a fresher, softer loaf. Plus, the process itself is deeply rewarding—you can literally taste the difference.
If you enjoy learning how food transforms from raw grains to a finished product, homemade Ezekiel bread is as educational as it is delicious. It’s also an excellent companion for articles like Easy Sourdough Bread Machine Recipe or guides on crockpot meals for those who love home cooking.
Step-By-Step Homemade Ezekiel Bread Recipe
Yes, it requires patience—but I promise it’s worth it. This step-by-step guide will help you make a loaf that’s moist, flavorful, and packed with nutrition.
Ingredients
| Ingredient | Quantity |
|---|---|
| Whole wheat berries | 1 cup |
| Barley | ½ cup |
| Lentils | ½ cup |
| Millet | ¼ cup |
| Spelt | ¼ cup |
| Soybeans | ¼ cup |
| Water | 2–2.5 cups (for dough) |
| Sea salt | 1.5 tsp |
| Honey or molasses (optional) | 1 tbsp |
| Olive oil | 2 tbsp |
| Yeast | 1 packet (7g) |
Equipment Needed: Large mixing bowl, food processor or grain grinder, loaf pan, clean jar or sprouting tray.
Step 1: Sprouting the Grains
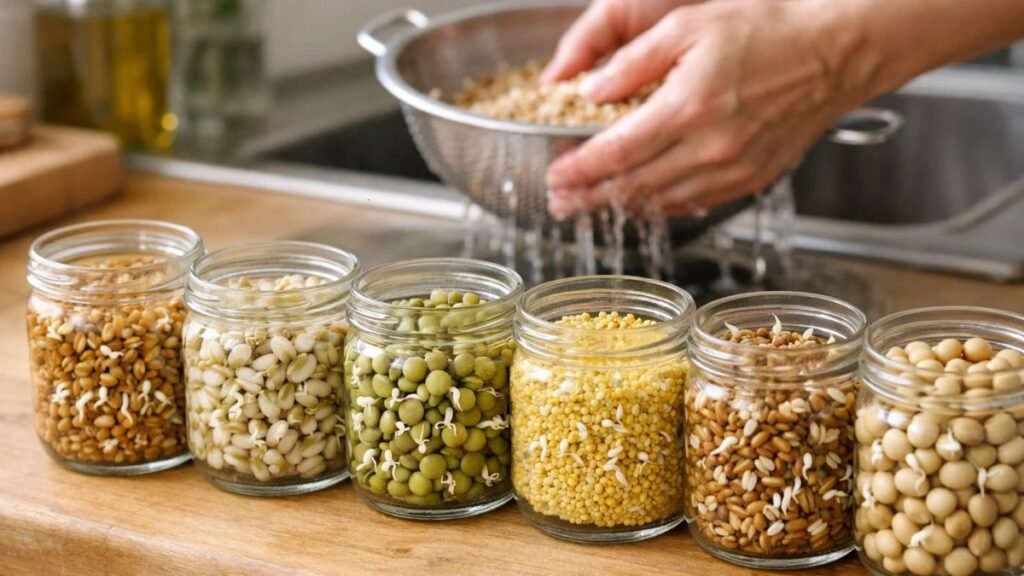
- Rinse all grains and legumes thoroughly.
- Soak them in a jar or sprouting tray with water for 8–12 hours.
- Drain and rinse 2–3 times daily until small sprouts appear (usually 2–3 days).
Pro tip: Sprouting isn’t just nutritional—it softens the grains and enhances flavor, giving the bread a gentle sweetness.
Step 2: Making the Dough
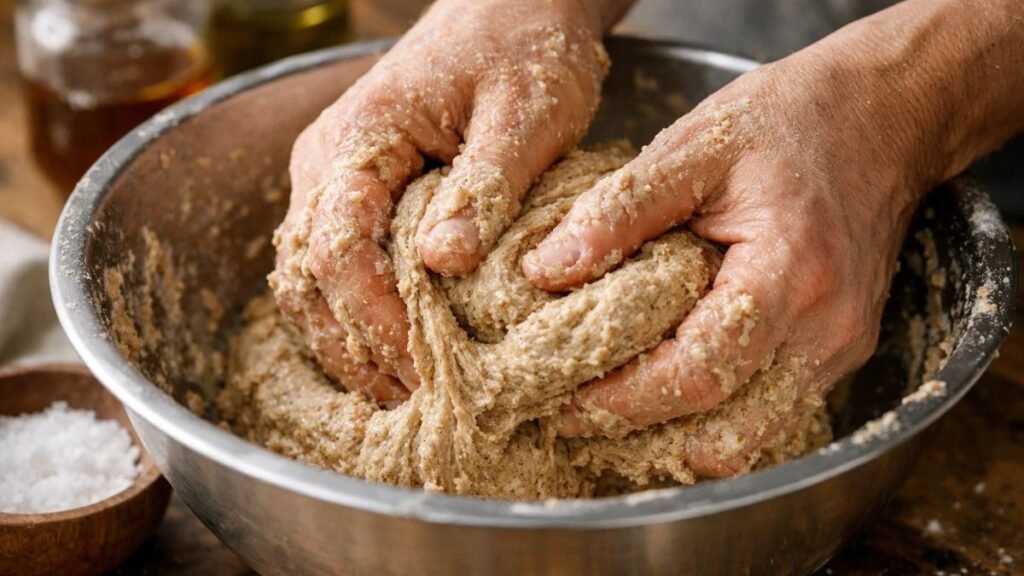
- Grind sprouted grains into a coarse flour.
- Mix with water, salt, honey or molasses, and olive oil.
- Add yeast and knead for 10–12 minutes until smooth and elastic.
Step 3: First Rise
Cover dough with a clean cloth and let it rise in a warm spot for 1–2 hours, or until doubled in size.
Step 4: Shaping & Second Rise
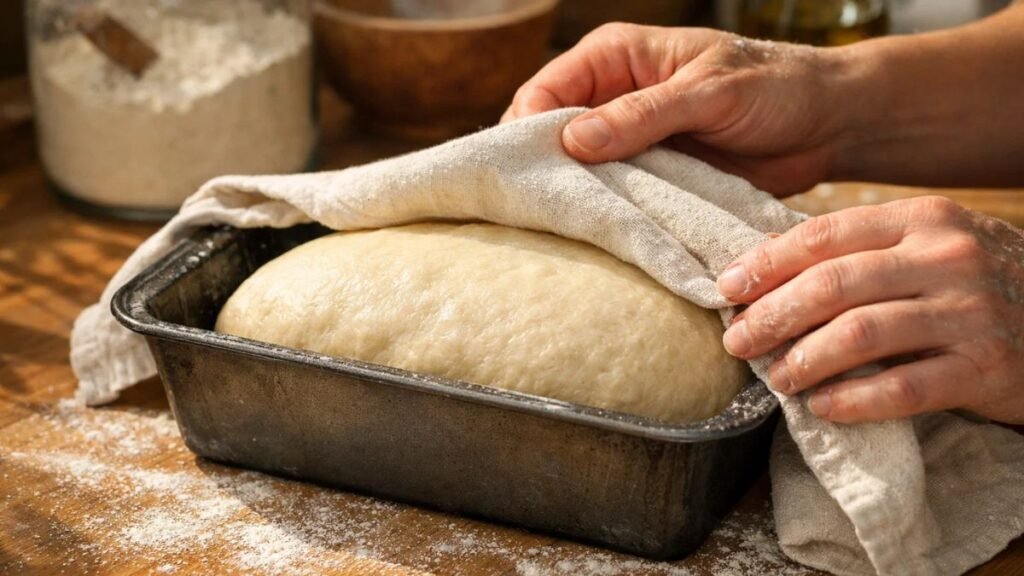
Gently punch down dough, shape into a loaf, and place in a greased pan. Cover and allow it to rise for 45–60 minutes.
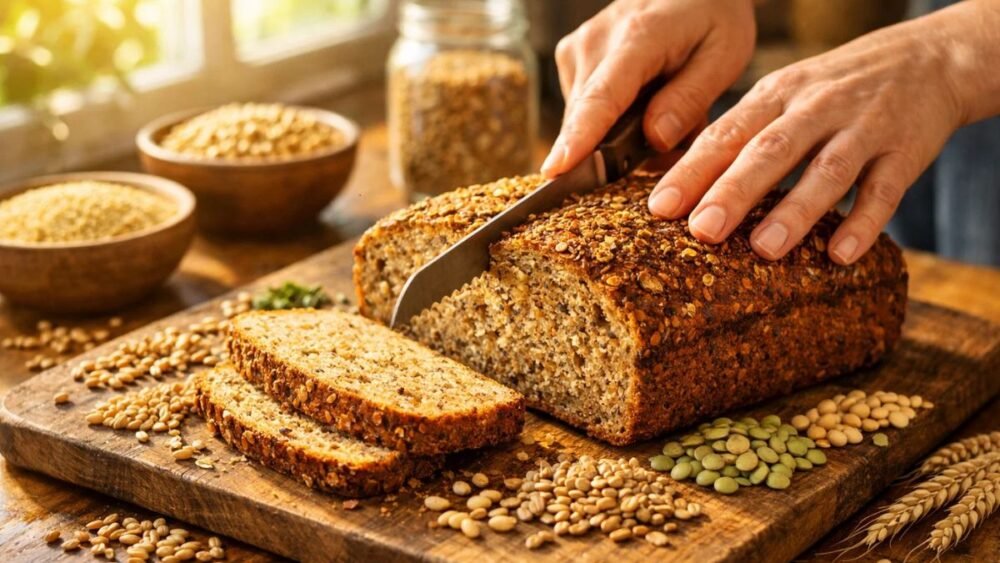
Step 5: Baking
- Preheat oven to 375°F (190°C).
- Bake for 35–40 minutes until golden brown and hollow-sounding when tapped.
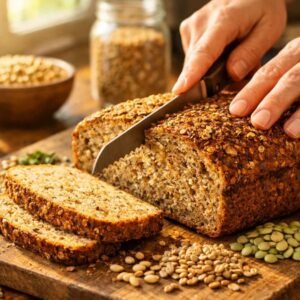
- Let it cool completely before slicing.
Storage tip: Keep in an airtight container at room temperature for 3–4 days, or freeze slices individually for 2–3 months.
Tips for Perfect Homemade Ezekiel Bread
- Never skip sprouting: Nutritional benefits come from sprouting first.
- Fresh yeast matters: For better rise and softer crumb.
- Sweeten lightly: Honey or molasses enhances flavor without turning it unhealthy.
- Slice thinly: This bread is denser than typical loaves; thin slices prevent heaviness.
Creative Ways to Enjoy Ezekiel Bread
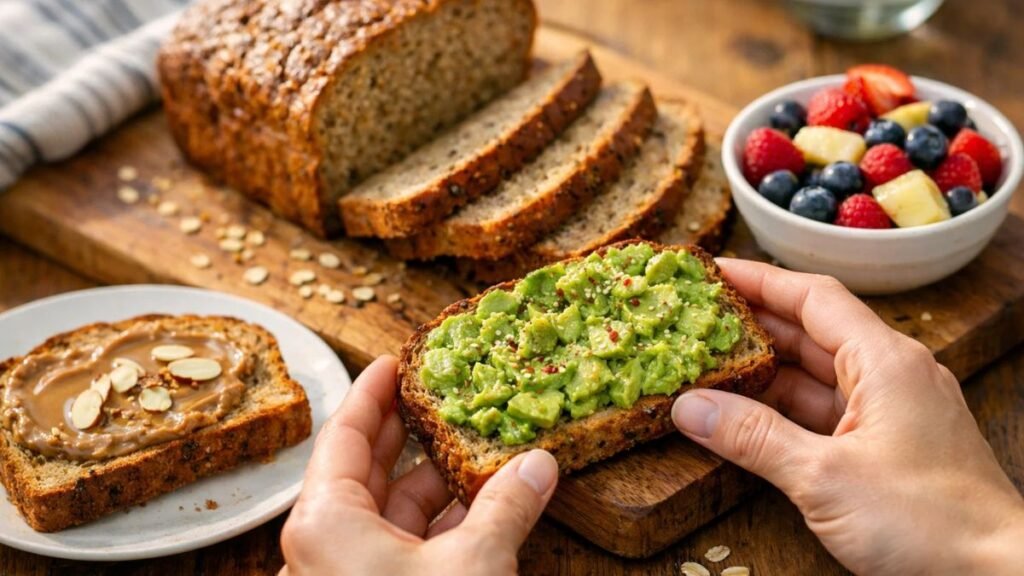
Ezekiel bread isn’t limited to toast. Here’s how I enjoy it:
- Avocado toast: Add a pinch of chili flakes and lemon juice.
- Nut butter delight: Almond or peanut butter works beautifully.
- Wholesome sandwiches: Layer turkey, hummus, or roasted veggies.
- French toast twist: Dip in egg, cinnamon, and vanilla for a nutrient-dense breakfast.
If you’re curious about pairing with protein-rich meals, check out Peanut Butter Protein Shake Recipe for an easy combo.
Nutritional Snapshot (per slice ~40g)
| Nutrient | Amount |
|---|---|
| Calories | 80–100 kcal |
| Protein | 4–5g |
| Fiber | 3–4g |
| Carbs | 15g |
| Fat | 0.5–1g |
| Iron | 1mg |
Nutrient values may vary slightly depending on grains used and portion sizes.
Common Questions About Ezekiel Bread
Is Ezekiel Bread Gluten-Free?
No—contains wheat, barley, and spelt. Easier to digest than conventional bread, but not suitable for celiac disease.
Can I Use Store-Bought Sprouted Grains?
Yes, just check that they contain no added sugars or preservatives.
How Long Does Homemade Bread Last?
Room temperature: 3–4 days
Fridge: Up to 1 week
Freezer: 2–3 months (best sliced and wrapped)
Final Thoughts
Ezekiel bread is a rare combination of tradition, nutrition, and taste. Sprouted grains provide complete proteins, fiber, and minerals while keeping the loaf easily digestible. Baking it at home not only ensures freshness but allows creative customization to suit your dietary needs and flavor preferences.
Whether toasted with avocado, layered with roasted veggies, or transformed into a hearty French toast, this bread proves that eating well doesn’t mean sacrificing flavor. For health-conscious bakers and curious home chefs alike, homemade Ezekiel bread is an investment in both wellness and culinary enjoyment.
By embracing sprouted grains, you get a soft, protein-rich, and nutrient-dense bread. Homemade Ezekiel bread isn’t just food—it’s a wholesome, delicious experience that reconnects you with natural, timeless ingredients.
If you enjoyed this article, don’t forget to follow and subscribe for more health tools, recipes, and news!
Ezekiel Bread
Equipment
- Large mixing bowl
- Food processor or grain grinder
- Loaf pan
- Clean jar or sprouting tray
- Measuring cups and spoons
- Clean kitchen towel
Ingredients
- 1 cup Whole wheat berries For sprouting
- ½ cup Barley Sprouted
- ½ cup Lentils Sprouted
- ¼ cup Millet Sprouted
- ¼ cup Spelt Sprouted
- ¼ cup Soybeans Sprouted
- 2 –2.5 cups Water Adjust for dough consistency
- 1.5 tsp Sea salt
- 1 tbsp Honey or molasses Optional adds flavor
- 2 tbsp Olive oil For soft crumb
- 1 packet 7 g Active dry yeast Fresh preferred
Instructions
Step 1: Sprouting the Grains
- Rinse all grains and legumes thoroughly.
- Place them in a jar or sprouting tray, cover with water, and soak 8–12 hours.
- Drain and rinse 2–3 times daily until small sprouts appear (usually 2–3 days).
- Tip: Sprouting boosts nutrition, flavor, and digestibility.
Step 2: Preparing the Dough
- Grind the sprouted grains into a coarse flour using a food processor or grain grinder.
- In a large mixing bowl, combine sprouted flour, water, salt, honey/molasses, and olive oil.
- Mix into a sticky dough.
- Add yeast and knead for 10–12 minutes until smooth and elastic.
Step 3: First Rise
- Cover dough with a clean towel and let rise in a warm spot 1–2 hours, or until doubled in size.
Step 4: Shaping and Second Rise
- Punch down dough gently, shape into a loaf, and place in a greased loaf pan.
- Cover and let rise 45–60 minutes until puffy.
Step 5: Baking
- Preheat oven to 375°F (190°C).
- Bake loaf 35–40 minutes until golden brown and hollow-sounding when tapped.
- Let cool completely before slicing.
- Tip: Slice thinly — Ezekiel bread is dense, so thin slices prevent heaviness. Store in an airtight container or freeze slices individually.
Notes
- Use fresh yeast for a better rise and soft crumb.
- Sweeteners like honey or molasses are optional but enhance flavor.
- Homemade bread is fresher and more nutritious than store-bought versions.

Muhammad Ahtsham is the founder of EatLikeFit.com and a nutrition researcher dedicated to healthy weight management. He provides practical, science-backed advice on high-protein diets and affordable meal planning to help readers achieve their fitness goals simply and effectively.