You might have noticed them popping up all over Instagram and TikTok lately—thin, golden-orange discs that look like sunshine you can bite into. Dried orange slices are quietly taking over kitchens, and for good reason. They’re more than just a pretty garnish; they’re tangy, naturally sweet, versatile, and surprisingly simple to make at home. Whether you’re elevating a cocktail, jazzing up a cake, or crafting your holiday décor, these little citrus wonders have a way of stealing the spotlight.
Jump To
Why Everyone’s Obsessed With Dried Oranges
Honestly, it’s hard to resist a snack that’s both photogenic and delicious. In recent years, home cooking has exploded online, and recipes that are easy, visual, and slightly “wow” tend to go viral. Dried orange slices check all the boxes: they glow on a plate, add that perfect zing to drinks and desserts, and give any table a festive touch.
Nutritionists note that oranges aren’t just tasty—they’re packed with vitamin C, antioxidants, and fiber. A study by the USDA highlights how vitamin C supports immune health and overall wellness, which explains why health-conscious foodies are swapping chips for citrus. You could even pair them with a healthy pudding like this apple chia pudding for a snack that feels indulgent but isn’t.
Making Dried Orange Slices at Home
If you’re imagining a complicated, time-consuming process, think again. With just a few ingredients and some patience, you can create these sunny slices yourself.
Ingredients:
- 2–3 medium oranges
- Optional: cinnamon, honey, or a sprinkle of sugar for extra sweetness
Instructions:
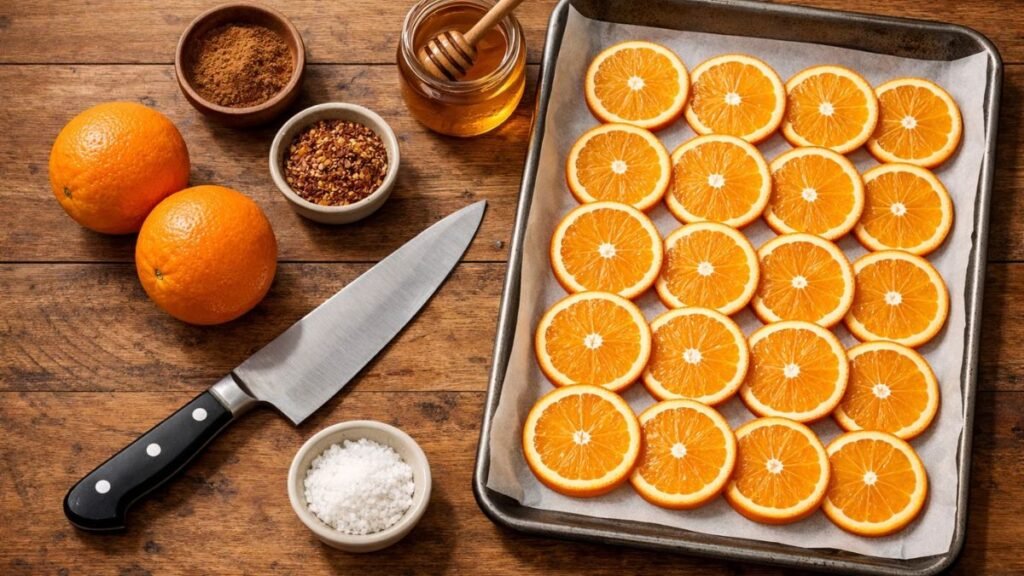
- Wash and Slice: Give your oranges a thorough rinse and slice them thin—about 1/8 to 1/4 inch thick. I usually notice that thinner slices crisp up better.
- Preheat the Oven: Keep it low—175°F (80°C) works well. If you have a dehydrator, follow the manufacturer’s guidance.
- Arrange Slices: Line a baking tray with parchment and make sure slices don’t touch. Overlapping leads to uneven drying.
- Dry Slowly: Bake for 2–3 hours, flipping halfway through. You want them dry but not scorched. Patience here is key.
- Cool and Store: Once cooled, keep them in an airtight container. They stay fresh up to two weeks.
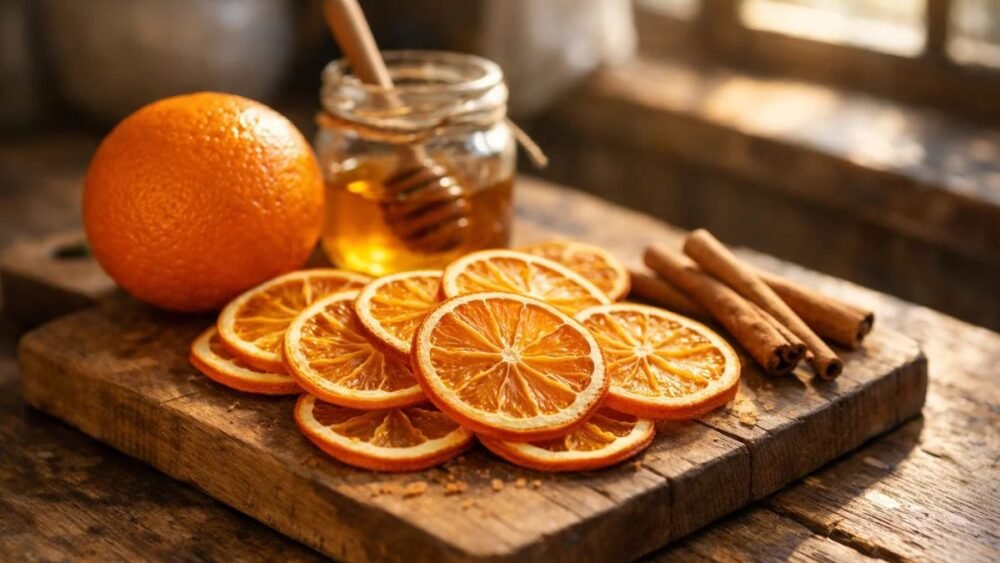
Pro Tip: A light brush of honey or a dusting of cinnamon before drying can transform your slices into a snack that’s borderline addictive.
Creative Ways to Use Your Dried Oranges
Here’s where the fun begins. Once you’ve got your batch, the possibilities are endless:
- Drinks: Drop a slice into tea, sparkling water, or a cocktail for an instant citrusy twist.
- Baking: Toss pieces into muffins or granola; they add a natural sweetness that feels gourmet. Try pairing with other recipes like healthy banana oatmeal muffins for a breakfast boost.
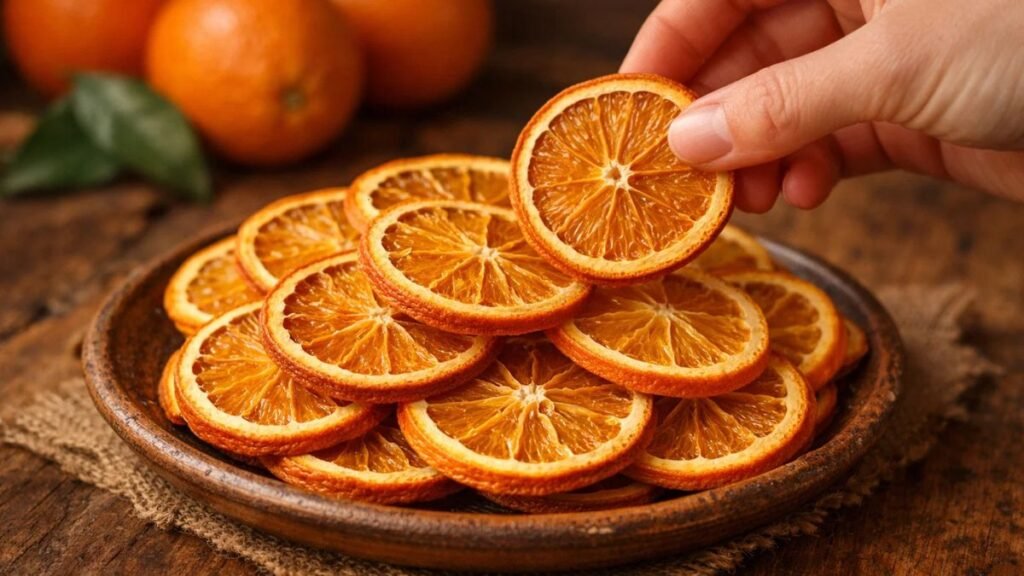
- Snacking: They’re ready to eat straight from the container—chewy, tangy, and satisfying.
- Decor: Hang them on Christmas trees, thread them into garlands, or use as natural gift embellishments.
Their versatility is why dried orange slices are becoming staples in kitchens and social media feeds alike.
Tips for Perfect Results
Even this “simple” recipe has pitfalls. Here’s what to watch for:
- Slices Too Thick: Over 1/4 inch, and you risk chewy, under-dried fruit.
- Oven Too Hot: High temperatures can burn the fruit and mute its flavor.
- Storage Mistakes: Any moisture in the container can lead to mold. Wait until slices are completely dry before sealing.
Following these steps ensures your snack is visually stunning and safe to enjoy.
Health Benefits Beyond Taste
Dried oranges retain a surprising amount of nutrients from fresh fruit, including vitamin C, folate, and potassium. Experts say antioxidants in citrus may help reduce inflammation and support heart health (Harvard T.H. Chan School of Public Health).
Sure, drying concentrates natural sugars, but compared to packaged snacks, they’re a far healthier choice. Families looking for alternatives to chips or candy might find this is a game-changer.
Why Homemade Wins
You could buy pre-packaged dried oranges, but homemade versions have perks:
- Flavor Control: Adjust sweetness, seasoning, and slice thickness to your taste.
- Additive-Free: Skip preservatives and excess sugar found in many commercial brands.
- Customization: Experiment with blood oranges, tangerines, or even lemons.
There’s also a joy in crafting something beautiful and edible yourself—plus, it makes a great gift or conversation starter at a gathering. For a broader take on DIY treats, you might enjoy our chipless cookies recipe, which pairs well with dried citrus accents.
Final Bite
Dried orange slices aren’t just a fleeting trend—they’re versatile, healthy, and strikingly beautiful. Whether you snack, bake, decorate, or sip them in a cocktail, these slices prove that simple ingredients can create something extraordinary.
So next time you want to elevate your kitchen game—or just impress guests with minimal effort—grab a few oranges and start slicing. You might be surprised at how a little patience turns a humble fruit into a showstopper.
How long do dried orange slices last?
Properly dried and stored slices last up to two weeks in an airtight container.
Can I use a dehydrator instead of an oven?
Absolutely! Dehydrators usually take 6–8 hours, depending on slice thickness.
If you enjoyed this article, don’t forget to follow and subscribe for more health tools, recipes, and news!

Easy Dried Orange Slices
Equipment
- Sharp knife
- Cutting board
- Baking sheet
- Parchment paper
- Oven or dehydrator
- Airtight storage container
Ingredients
- 2 –3 medium Oranges Rinse thoroughly before slicing
- 1 tsp optional Cinnamon Sprinkle for extra flavor
- 1 tsp optional Honey Brush lightly on slices before drying
- 1 tsp optional Sugar Light dusting for sweetness
Instructions
- Wash and Slice: Rinse oranges thoroughly. Slice into thin rounds, about 1/8 to 1/4 inch thick for even drying.
- Preheat Oven: Set oven to 175°F (80°C). If using a dehydrator, follow the manufacturer’s temperature guide for citrus.
- Arrange Slices: Line a baking sheet with parchment. Place orange slices in a single layer without overlapping.
- Optional Flavoring: Sprinkle lightly with cinnamon, sugar, or brush with honey for added taste.
- Dry Slowly: Bake in the oven for 2–3 hours, flipping slices halfway through to ensure even drying. Goal: remove moisture without burning.
- Cool and Store: Let slices cool completely before storing in an airtight container. They last up to 2 weeks.
- Serve: Enjoy as a healthy snack, garnish for drinks or desserts, or thread into holiday décor.
Notes
- Slices thicker than 1/4 inch may take longer to dry and remain chewy.
- Ensure slices are fully dry before storing to prevent mold.
- Experiment with different citrus like blood oranges, tangerines, or lemons for variety.
- Perfect paired with desserts like healthy banana oatmeal muffins or chipless cookies for a bright, tangy contrast.

Muhammad Ahtsham is the founder of EatLikeFit.com and a nutrition researcher dedicated to healthy weight management. He provides practical, science-backed advice on high-protein diets and affordable meal planning to help readers achieve their fitness goals simply and effectively.