If autumn had a scent, it would be apples simmering with cinnamon — that cozy, caramelized smell that fills your kitchen and makes you forget the world outside. That’s exactly the feeling you’ll capture with this homemade apple pie filling for canning — a sweet, spiced slice of fall that waits patiently on your pantry shelf for a cold winter day.
It’s not just a recipe; it’s a little time capsule of comfort.
Why Make Your Own Apple Pie Filling?
There’s something deeply satisfying about twisting the lid off a jar you made months ago. Store-bought fillings might get the job done, sure, but they can’t hold a candle to the taste of homemade.
When you make it yourself, you get to control the sweetness, the texture, even the spice balance. No mystery ingredients. No unnecessary preservatives. Just pure, real flavor.
Plus, once you’ve stocked a few jars, dessert prep becomes effortless. Apple crisp after dinner? Two minutes. Sunday pie? Done before the oven’s preheated.
If you love cozy, seasonal kitchen projects like this, you might also enjoy our Easy Roasted Root Vegetable Recipe — another fall favorite that makes your home smell incredible.
Ingredients You’ll Need
For roughly six pint-sized jars, gather these essentials:
| Ingredient | Amount |
|---|---|
| Fresh, firm apples (Honeycrisp or Granny Smith) | 6 pounds |
| Granulated sugar | 2 cups |
| Clear Jel (not cornstarch) | ½ cup |
| Ground cinnamon | 2 teaspoons |
| Nutmeg (optional) | ¼ teaspoon |
| Lemon juice | ½ cup |
| Water or apple juice | 2 cups |
Pro tip: Only Clear Jel is approved for safe canning by the USDA. Cornstarch or flour can make the mixture unstable and unsafe for long-term storage.
Step-by-Step: How to Make Apple Pie Filling for Canning
1. Prep the Apples
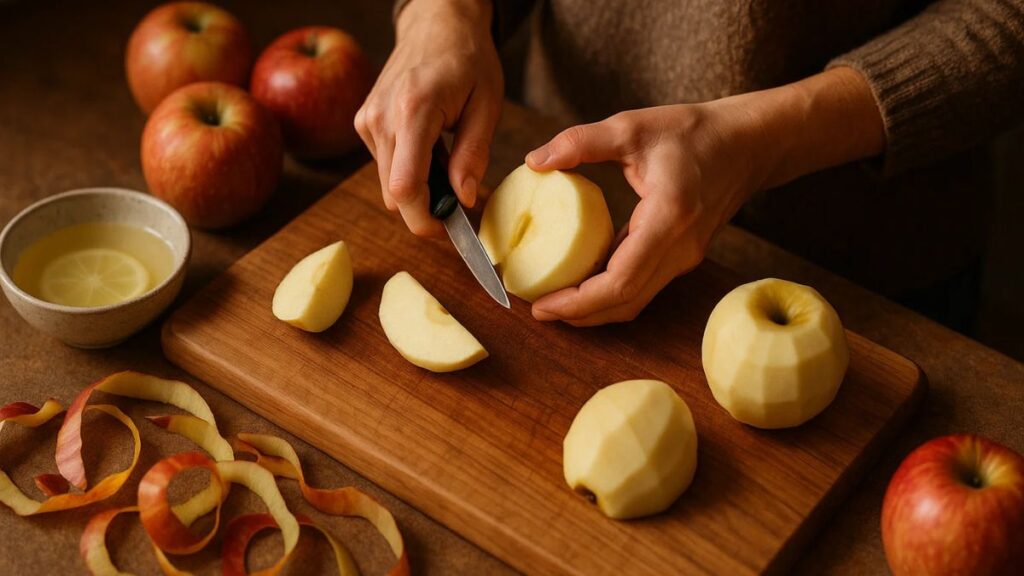
Peel, core, and slice your apples into even, quarter-inch pieces. Toss them into a bowl of cold water with a squeeze of lemon juice to keep them from browning. (A little patience here makes your filling picture-perfect later.)
2. Blanch the Apples
Drop your apple slices into a pot of boiling water for about a minute, then drain. This softens them slightly and helps them hold their shape after canning.
3. Make the Syrup
In a large saucepan, whisk together sugar, Clear Jel, water (or apple juice), cinnamon, and nutmeg. Stir over medium heat until it starts to thicken — about 5 minutes. Once it’s glossy and smooth, stir in the lemon juice and your blanched apples. Let it simmer for 3–4 more minutes until the apples are tender and coated in that rich, caramel-scented syrup.
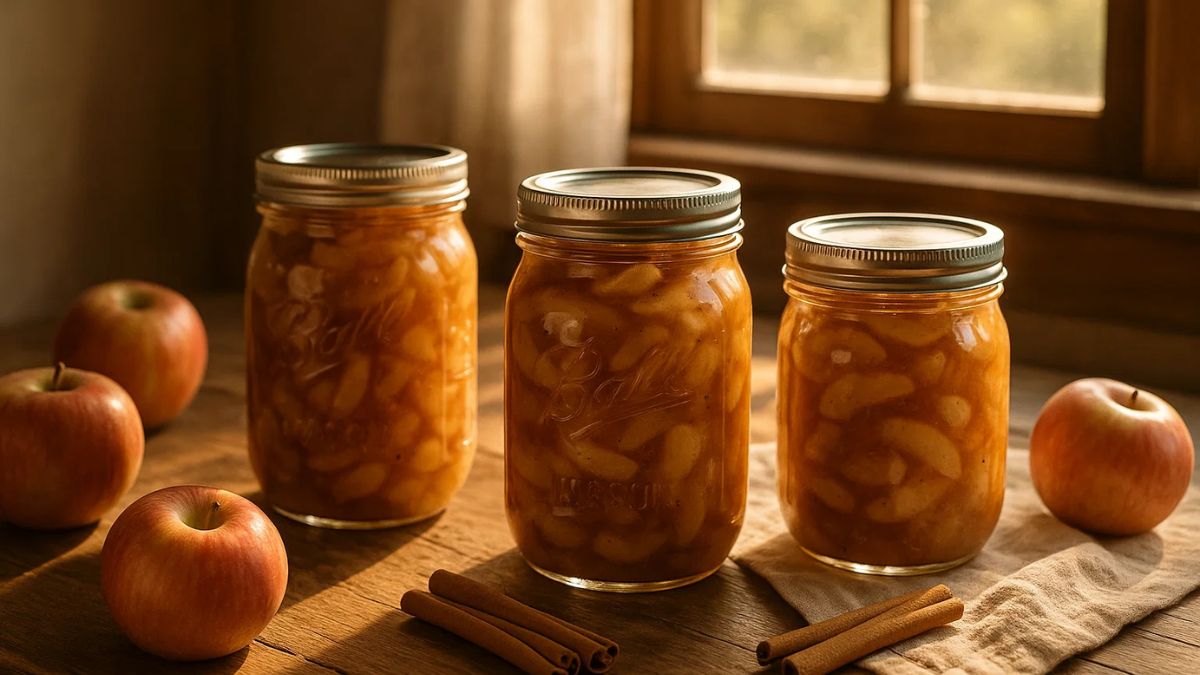
4. Fill the Jars
Ladle the hot mixture into sterilized jars, leaving an inch of headspace. Remove air bubbles, wipe the rims, and secure with clean lids and bands.
5. Process the Jars
Place them in a boiling water canner and process for 25 minutes (adjust if you’re at a higher altitude). When done, remove them carefully and let cool for at least 12 hours — no touching, no tilting.
6. Store It Right
Once cooled, check your seals. Lids should be firm and concave. Store in a cool, dark space (ideally below 75°F) for up to one year. Once opened, refrigerate and use within a week.
Why This Recipe Works
This method follows USDA-approved guidelines, ensuring food safety while keeping that fresh, just-picked apple flavor alive.
The Clear Jel thickener keeps your filling smooth and stable, while the lemon juice preserves both color and acidity.
If you’re into home canning, you might also appreciate our Health Benefits of Roasted Groundnuts — another example of how pantry staples can boost both flavor and nutrition.
How to Use Canned Apple Pie Filling
You’ll be amazed by how versatile this is. That one jar of golden filling can turn into half a dozen cozy treats:
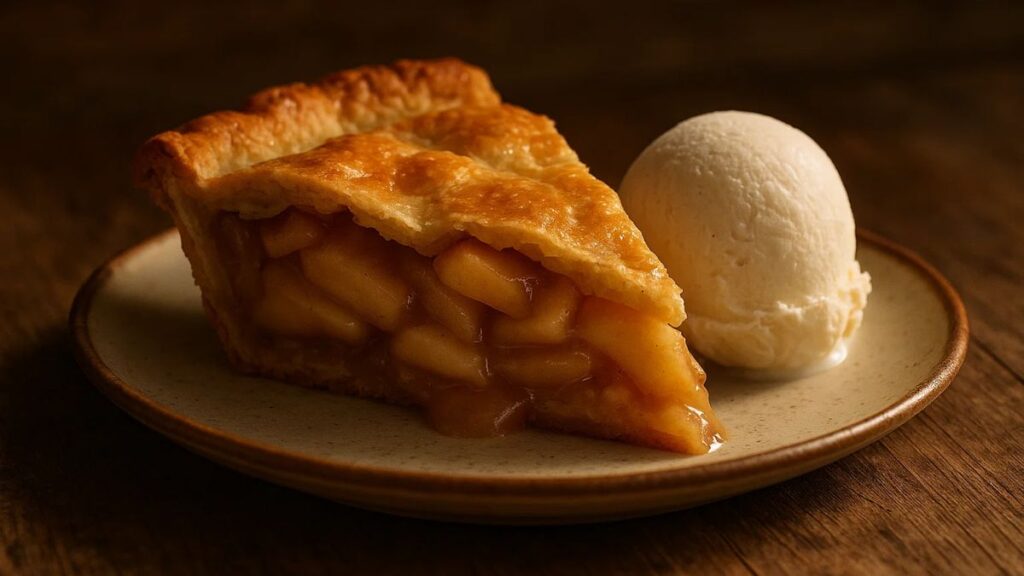
- Classic Apple Pie: One quart jar fills a 9-inch crust. Bake at 400°F for 35–40 minutes.
- Apple Crisp: Pour into a dish, top with oats and butter, and bake until golden.
- Breakfast Parfait: Layer with yogurt or oatmeal for a quick, healthy breakfast.
- Dessert Sauce: Warm and drizzle over waffles, pancakes, or cheesecake.
- Savory Twist: Believe it or not, this filling pairs beautifully with roasted pork or turkey — that sweet-tart balance cuts through rich meats perfectly.
If you’re trying to eat lighter this season, check out our 7-Day Smoothie Weight Loss Diet Plan for more make-ahead ideas that still feel indulgent.
Storage and Safety Tips
- Always use sterilized jars and lids.
- Label everything with the canning date.
- Store below 75°F in a dry, dark place.
- If a seal pops or the lid moves when pressed — toss it. No risks here.
- Never substitute cornstarch for Clear Jel.
Want to calculate your calorie intake while you enjoy these treats? Our Reverse BMI Calculator can help you keep your goals balanced — because yes, you can have dessert and stay healthy.
Best Apples for Canning
Mixing apple varieties gives you the most balanced flavor. Here’s a quick guide:
| Variety | Flavor | Texture |
|---|---|---|
| Granny Smith | Tart | Firm |
| Honeycrisp | Sweet | Crisp |
| Jonagold | Balanced | Tender |
| Fuji | Sweet | Juicy |
I usually blend two kinds — one tart, one sweet. That way, you get a more natural sweetness without adding extra sugar.
If you’re curious about other fall ingredients that pack a punch, you might enjoy comparing Pumpkin Seeds vs Chia Seeds — both are amazing for seasonal baking and health.
Can I use cornstarch instead of Clear Jel?
No — only Clear Jel is safe for canning. It stays smooth and heat-stable under pressure.
How long does it last?
Up to 12 months if sealed and stored properly.
Can I reduce the sugar?
Yes, but don’t eliminate it completely. Sugar helps preserve color, texture, and flavor.
What if I don’t have a canner?
You can use a large stockpot with a rack — just make sure jars are fully submerged with at least an inch of water above the lids.
Final Thoughts
There’s something timeless about canning. It connects us to the rhythm of the seasons — that slow, grounding satisfaction of saving something sweet for later.
So next time you walk past a crate of crisp fall apples at the market, grab them. Set aside an afternoon, put on some music, and fill your kitchen with that unmistakable scent of cinnamon and sugar.
Because when winter comes knocking, you’ll be so glad you did.
And if you’re feeling extra inspired, pair this pie with a cozy cup from our Starbucks Drink Calorie Calculator 2025 — your perfect seasonal sip is waiting.
If you enjoyed this article, don’t forget to follow and subscribe for more health tools, recipes, and news!
Homemade Apple Pie Filling for Canning (Easy 2025 Guide)
Ingredients
Equipment
Method
- Peel, core, and slice apples evenly into ¼-inch slices. Place in a bowl of water with a little lemon juice to prevent browning.
- Boil a large pot of water, add apple slices, and blanch for 1 minute. Drain and set aside.
- In a large saucepan, combine sugar, Clear Jel, water or juice, cinnamon, and nutmeg. Cook over medium heat until thick and bubbly (about 5 minutes). Stir in lemon juice and the blanched apples. Simmer for 3–4 minutes.
- Using a canning funnel, pour the hot apple filling into sterilized jars, leaving 1 inch of headspace. Wipe rims clean and secure lids.
- Place filled jars into a boiling water canner and process for 25 minutes. Adjust for altitude if needed.
- Carefully remove jars and let them cool undisturbed for 12 hours. Check seals before storing in a cool, dark place.
Notes
- Only Clear Jel is safe for canning — never substitute cornstarch.
- This recipe yields about 6 pint jars.
- Mix tart and sweet apples (e.g., Granny Smith + Honeycrisp) for best flavor.
- Once opened, refrigerate and use within 7 days.
- Use this filling for pies, crisps, or breakfast parfaits.

Muhammad Ahtsham is the founder of EatLikeFit.com and a nutrition researcher dedicated to healthy weight management. He provides practical, science-backed advice on high-protein diets and affordable meal planning to help readers achieve their fitness goals simply and effectively.